


30 Mar DIY Egg Coloring: The Art And The Science
Dying eggs is a long-established springtime tradition. Eggs play a role in various religious or seasonal celebrations throughout history. There are various theories on how egg coloring came to be associated with the Christian celebration of Easter. However it started, people couldn’t always drive to the supermarket and buy egg dying kits complete with glitter and stickers. They once relied on natural materials to make dye.
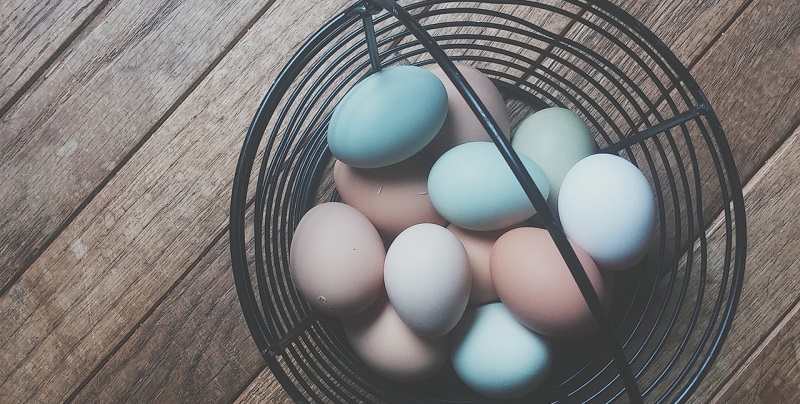
Whatever you celebrate in spring, DIY egg coloring is easy and fun. It can allow you and your kids to express your artistic side. Plus, it doubles as a science lesson for kids. In each step below, look for the * for science ideas.
Gather DIY Dye Egg Coloring Materials
You may already have some sources of dye around your house, and others you can find easily. You could save scraps from vegetables that you prep for cooking, to cut down on waste. Here are some of the materials you might choose to use:
- Red cabbage
- Turmeric
- Paprika
- Frozen blueberries or raspberries
- Red onions
- Brewed coffee
- Beets or beet juice
- Cranberry juice
- Spinach or kale
- Avocado skins
You will also need water, plenty of white vinegar, and a glass pot for boiling. *If you want, leave one without vinegar, so that you can compare results and explain the chemistry behind using vinegar.
Not everything will produce the color you might expect. For example, red onion skins will produce green coloring, while avocado skins will produce pink. *Make it a science experiment for kids, and have them predict what colors will result from which materials.
Prep Your Eggs
Plan how many eggs you want to color. Think about how many you can realistically eat before they go bad. Consider giving some as gifts.
Make sure your eggs are fresh. Some people say that starting with room temperature eggs works best. *Ask your kids to think about which would hold dye better, cold or room temperature eggs. Gently wash the shells with soapy water.
Prep Your Dyes
Mix two tablespoons of vinegar per quart of water. To each quart, add a different dying material. Adjust the amount for how dark you want your colors. You will usually need more than you think you will. But, if the color doesn’t darken to the shade you want, you can continue to soak the eggs after cooking. (More on that ahead.) When you’re using liquids, such as coffee or beet juice, substitute at least half of the water for juice.
Dye Your Eggs
Now you can hard boil the eggs, just as you would normally, in the dye solution. Make sure they’re in a single layer and try to keep them from touching. *Talk about the chemistry of water. At what temperature does it boil? (212 degrees) How does it change form as it boils? (It turns to gas, or water vapor.) Do other liquids boil at the same or different temperatures? Does vinegar raise or lower the boiling point of water? (It raises it slightly, but perhaps not enough to measure at home.)
When you’re finished, if the eggs don’t show the color you hoped for, that’s okay. Transfer the eggs with the dye solution to a glass container with a lid, and store it in the refrigerator overnight. Either way, when you’re happy with the color of your eggs, remove them from the solution and place them on a wire rack to dry.
You might pre-cook some of the eggs and “cold dye” them. *Ask your kids to predict which eggs will take the color better. How does heat affect the process?
*Why do eggs harden when they boil, anyway? The heat changes the shape of the proteins, causing them to solidify. Scitable explains the science in greater detail here.
Enjoy Your Eggs
Use them as decoration, give them as gifts, hide them for an egg hunt, or just eat them!
PHOTO: Unsplash / CC0 Public Domain
No Comments